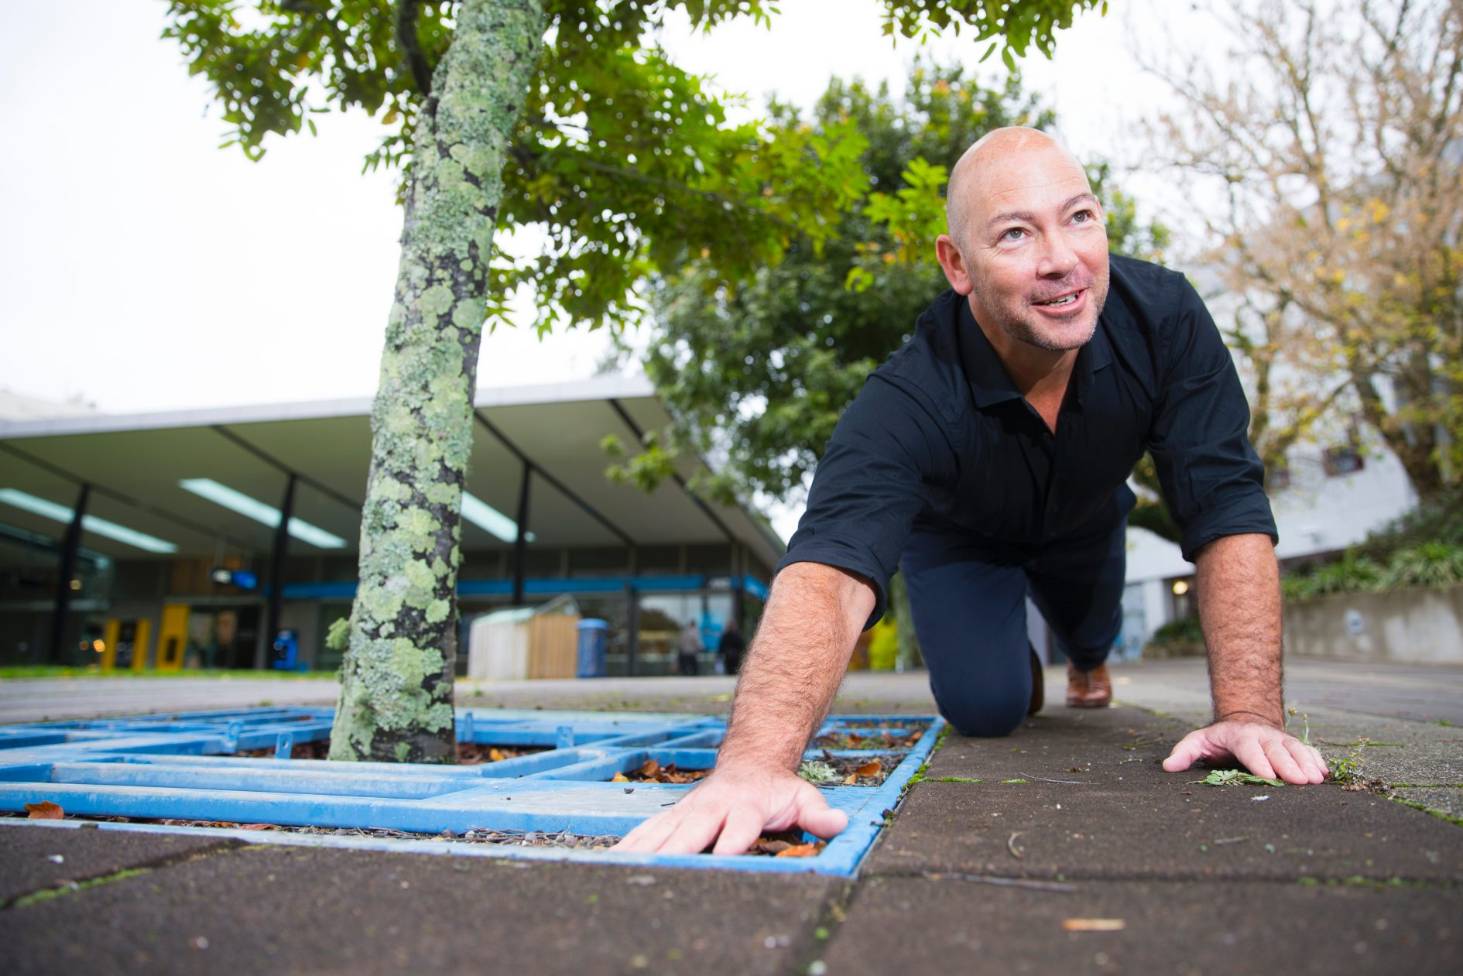
Once individuals have started to use their “Maths Eyes”, Maths Trails are a great way to help everyone to develop their eyes further. The steps in developing a Maths Trail are outlined below. Maths trails can be developed by individuals, families or groups of learners.
Steps in constructing a maths trail
- Make sure you choose a trail that will be fun to do and is safe for those who are doing it.
- Once you have chosen the trail you will use, walk the trail with other students and encourage them to share what they can see through their “Maths Eyes”. Take notes as you go along include ideas for activities. This can be describing a shape; using maths words to describe the railings in a fence; working out the height of a tree using their own strategy or the rate of flow in a stream or playing hopscotch.
- Identify good places to get people to stop along the trail
- Take a photograph of something recognisable at each stop and decide what you want the individual taking the trail to do at this stop.
- Include tasks at each stop for different levels of ability to keep everyone engaged and interested.
- Write out the notes you took in more detail identifying key stops you want to include.
- Give each stop a name e.g. the triangle stop and focus on this particular aspect in the information/tasks that you include in that stop on the trail.
- Remember to cover a variety of maths themes.
- Depending on where you have the maths trail there might be opportunities to intersperse the maths discussion with real life discussion. For example, you might want to point out symmetry or lack of symmetry in the different leaves of different types of trees. Identify and name the trees and their characteristics.
Link to Maths Trails we have developed
Download Corcagh Park Maths Trail
Download the Sean Walsh Park Trail
Download the Navan Maths Trail

